Facebook has released the Avatar feature for India and now you can create the customized avatar to share no your Facebook wall. The customized stickers have been rolled out to all the versions of Facebook, Android, or iOS. Here we have a step by step guide to tell you how you can use the Facebook app to create your own avatar and customized stickers.
Steps to Create Facebook Avatar
- Update the Facebook app with the latest one and launch it.
- Go to the Menu tab and ap the search button on the top right.
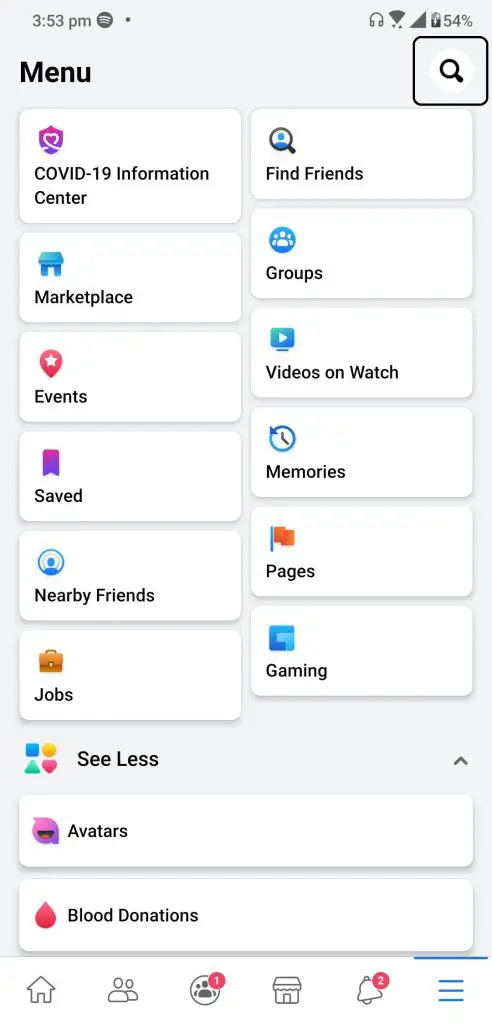
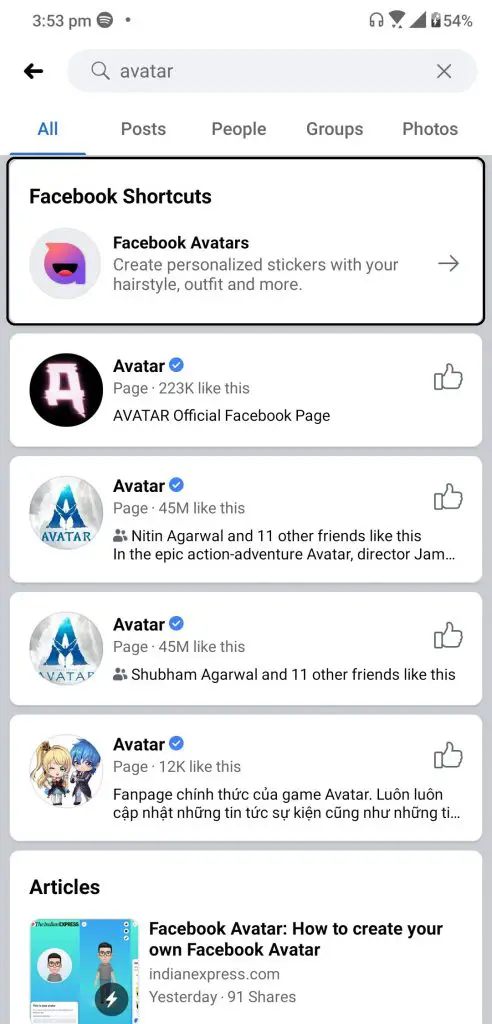
- Search for “Avatar” and tap on the first result.
- The script will launch and you will be asked to choose the skin tone to get started.
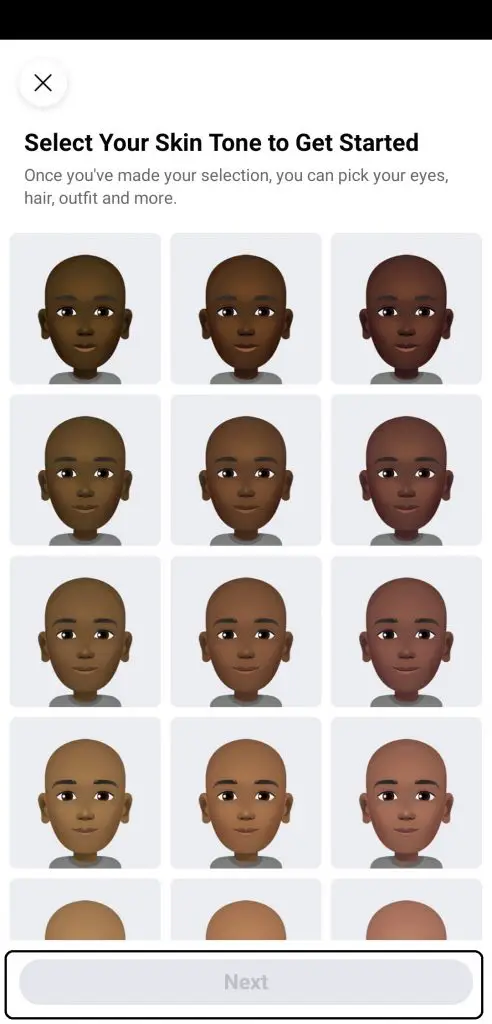
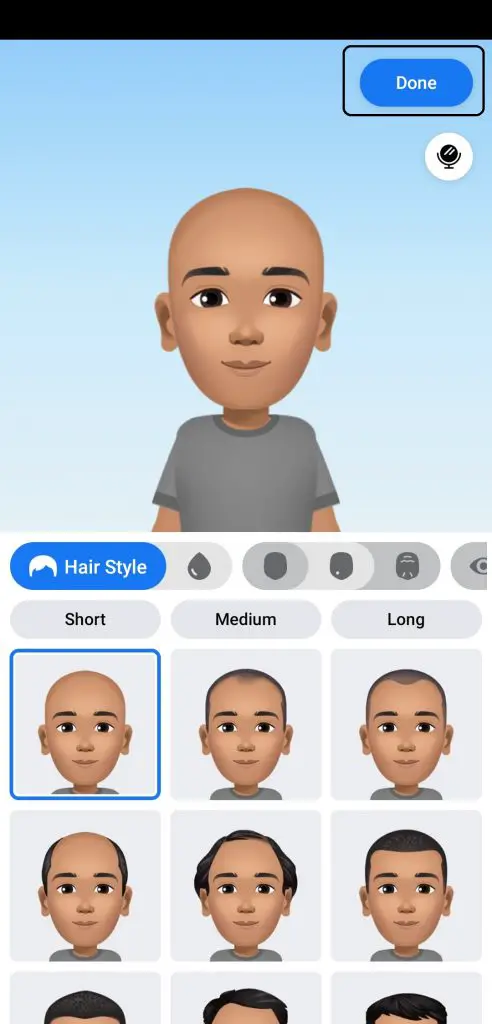
- Once you choose the skin tone, you will reach the avatar editor page with tons of customization options.
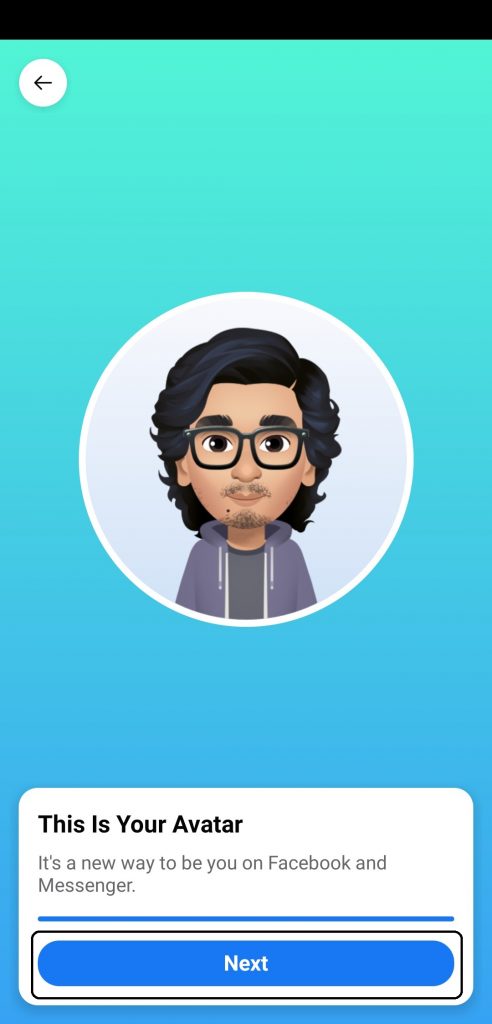

- Once you are done with the avatar, tap the Done button on the top right.
- The next page will preview your avatar, tap on the Next button here.
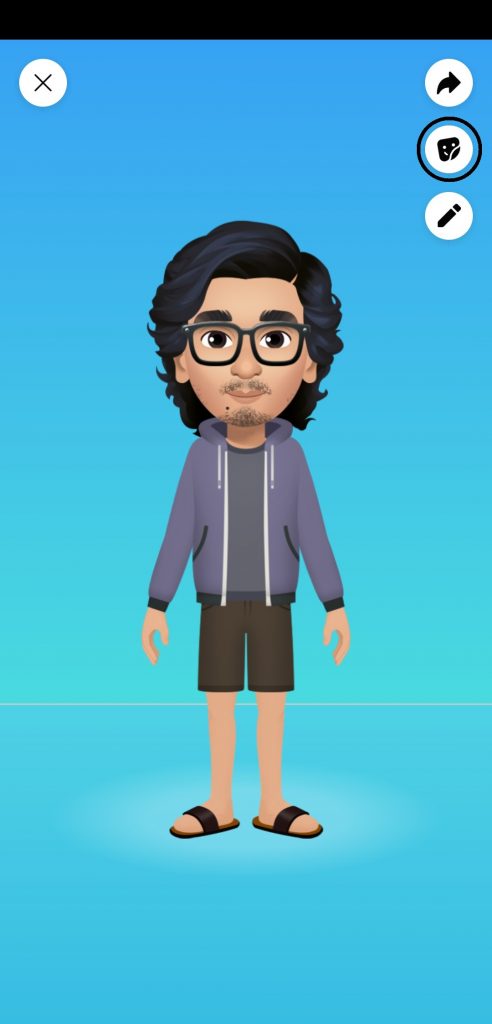
- This page will show you the created avatar of yourself.
You will be able to share the avatar which you created to your timeline or you can put it as your Facebook profile picture. You can also tap the sticker icon on the top right to enter the stickers page. You will see a lot of stickers made using your avatar which you created right now. You can share these stickers on Messanger or any other social media like WhatsApp and more.
read- TRICK TO CREATE YOUR OWN WHATSAPP STICKER IN 5 MINUTES
Wrapping up
This is how you can create your own avatar on Facebook and share it with friends in the form of customized stickers. Follow GadgetsToUse on social media to know about more tips and tricks like this on here.
The post Facebook Avatar Launched in India; Here’ How to Create Your Own appeared first on Gadgets To Use.
Source: Gadgets House

No comments