If you own a Windows laptop with SSD as a boot drive then you know how irritating is to keep it clean of all the clutters. Well, there is a feature in Windows 10 which can help you empty the recycle bin automatically. You can even automate and schedule the cleaning process so it won’t bother you ever again.
I should warn you about this feature being destructive at some point if not used properly. If you do not use this feature properly then you may end up losing some of your important data so make sure you make the right choices. It is not that complicated at all but you should still be careful.
Steps to Empty Recycle Bin Automatically in Windows 10
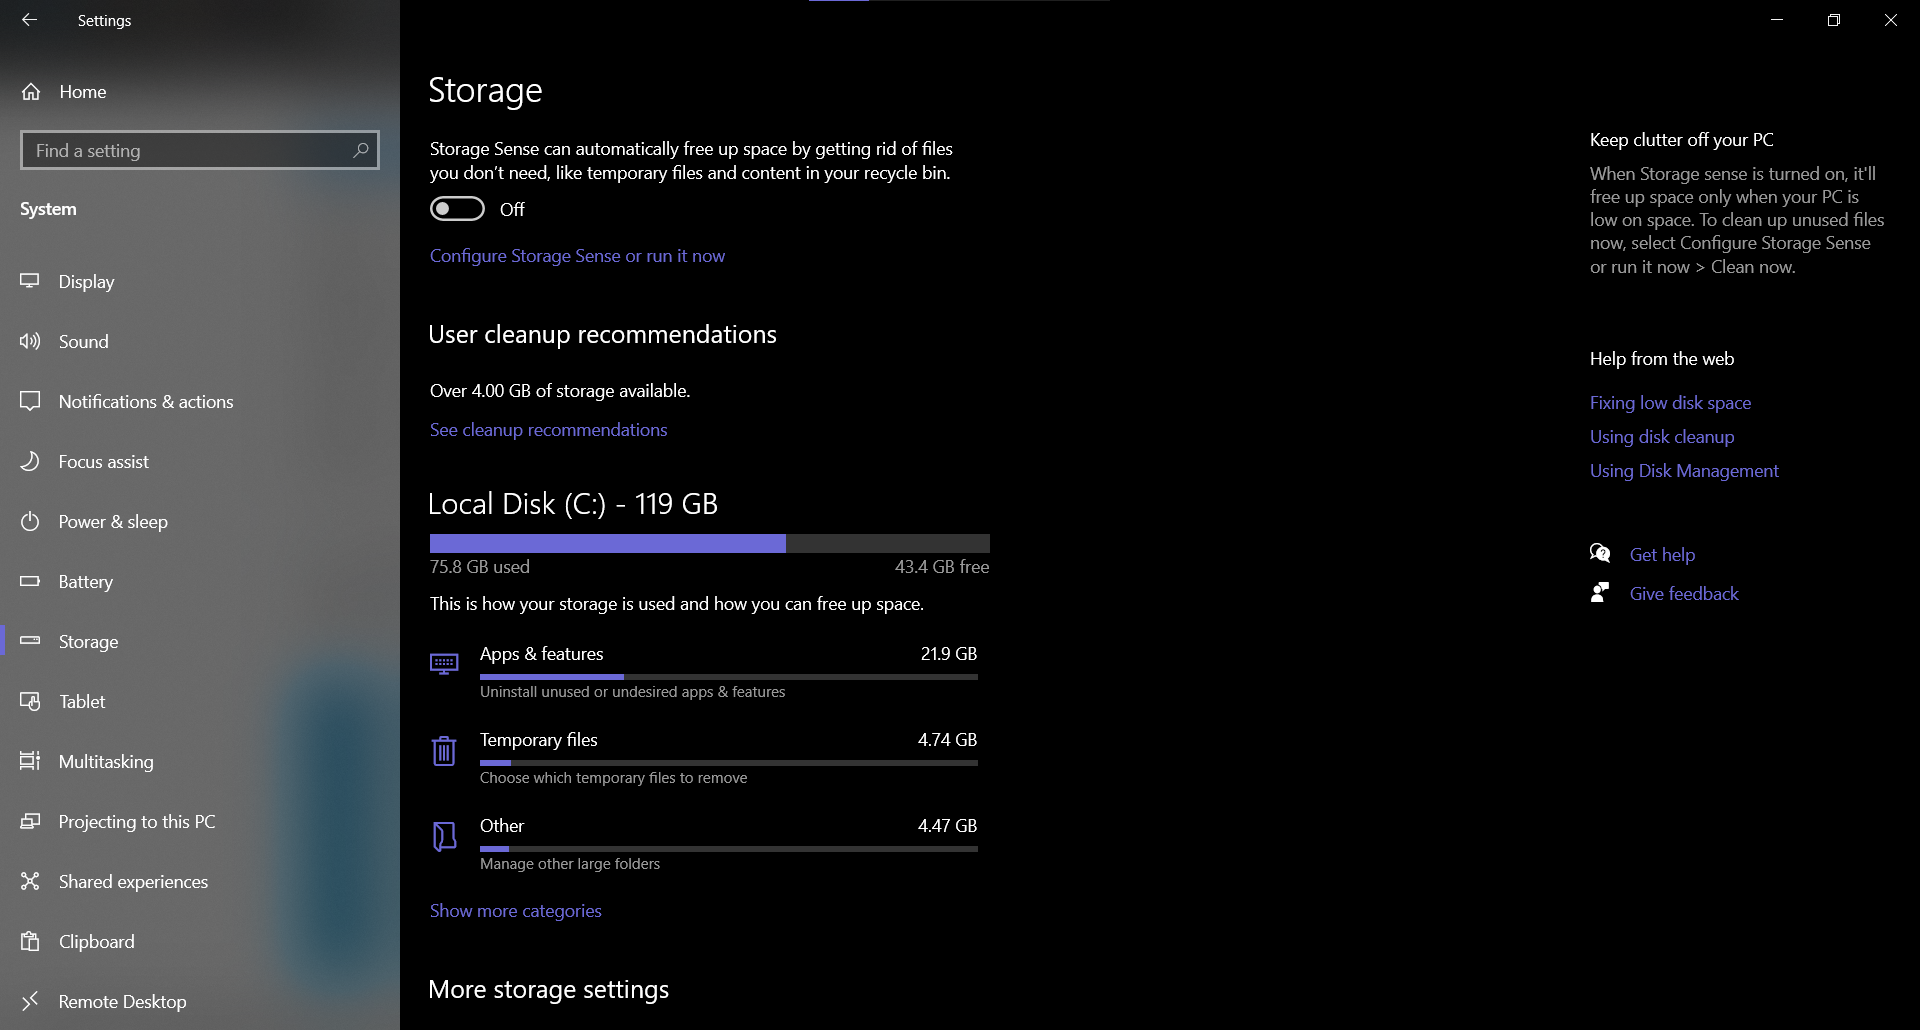
- Open the Start menu and go to Settings.
- Select the System options and ten go to Storage.

- Here you will see Storage Sense toggle on the top.
- If you are looking to clean the recycle bin every often then you are done with the guide. But if you want to customize it more then you should go further.
Storage Sense Options Explained
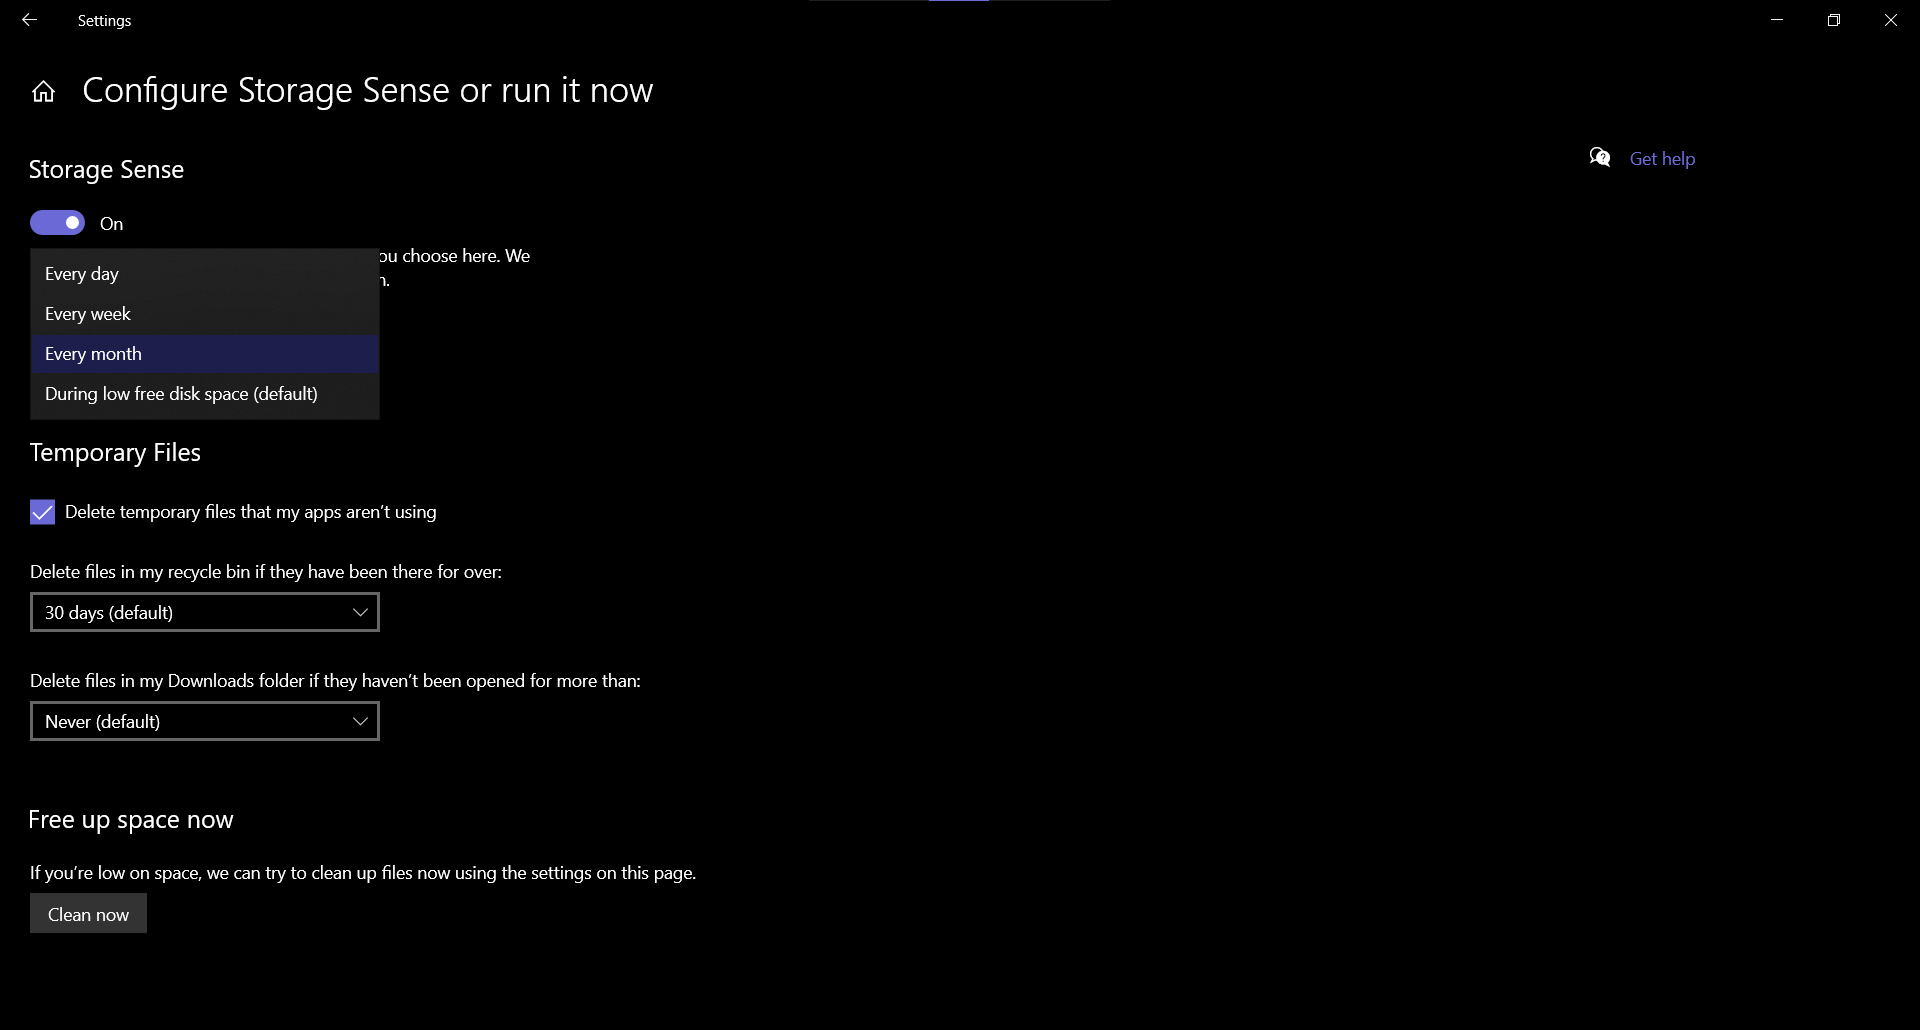
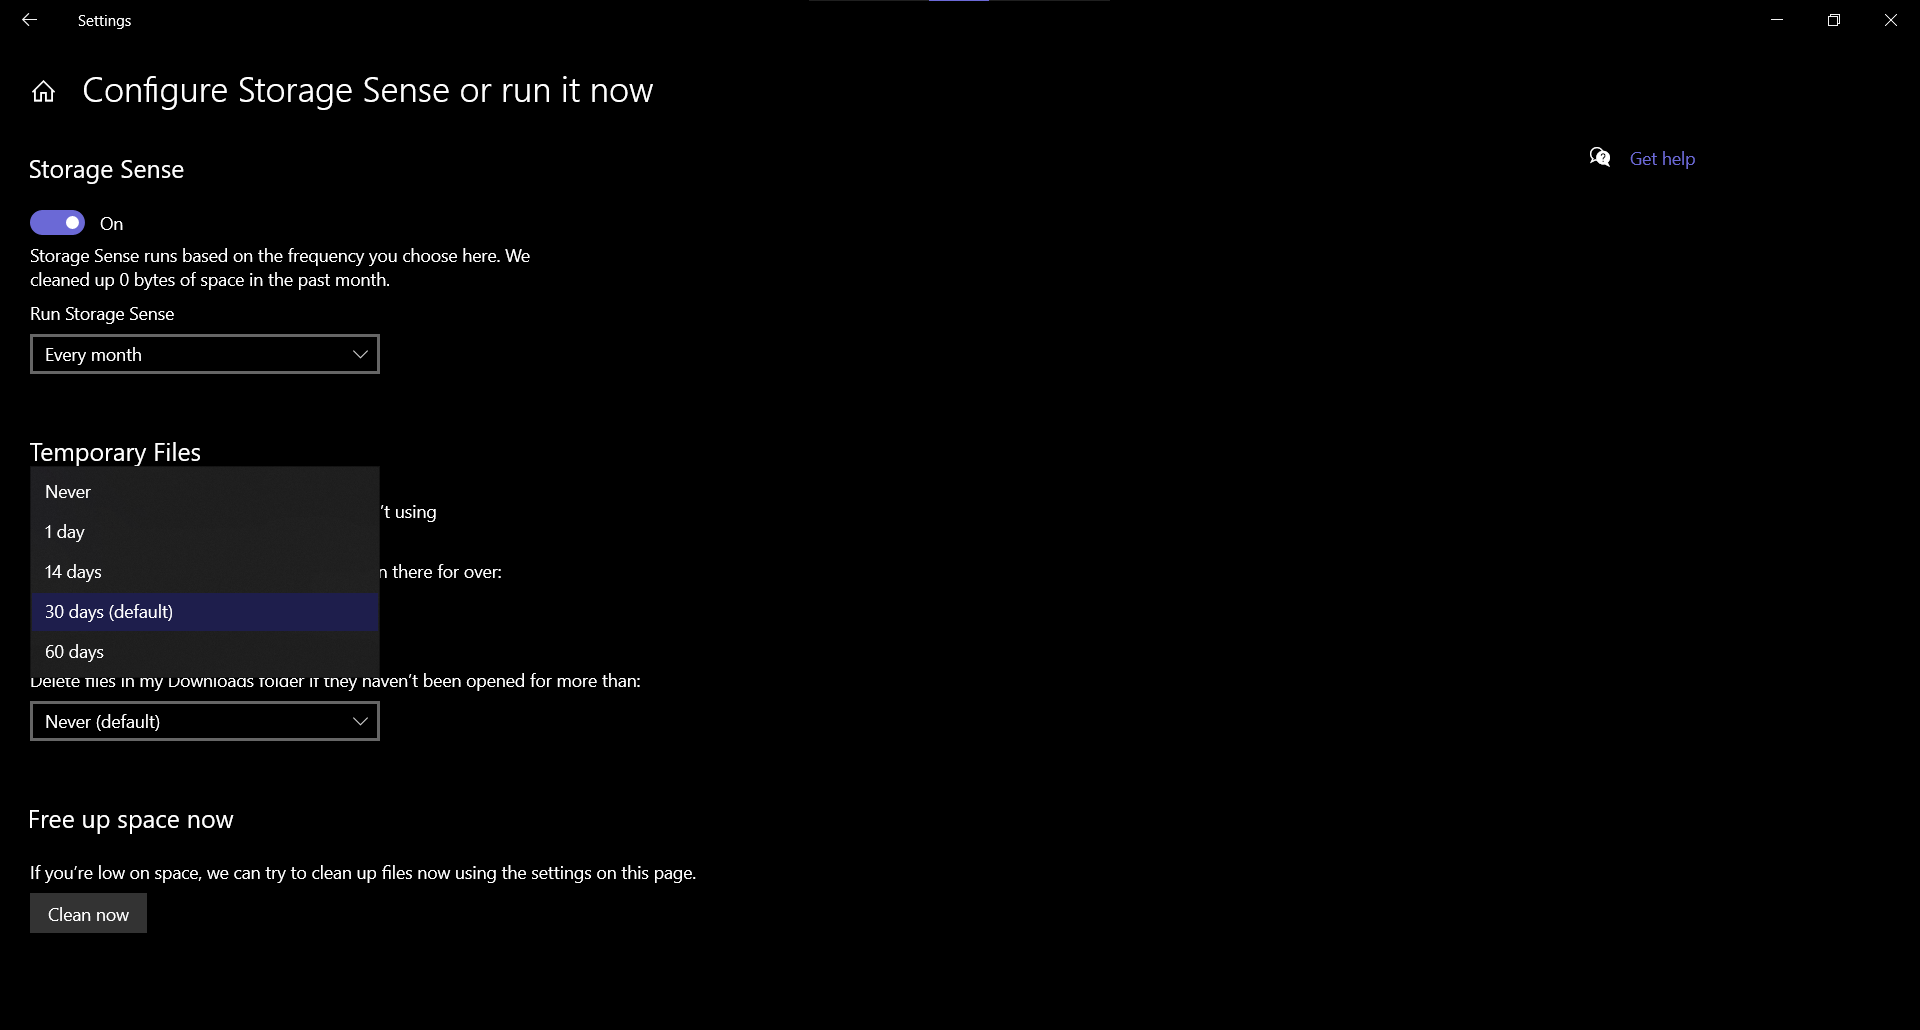
Click the Configure Storage sense now to get into the configuration part fo the Storage sense feature. Here you will find the following options to customize:
Storage Sense: You get a toggle to enable or disable the storage sense feature and a drop-down menu to select the time when the Storage sense clean storage automatically.
Temporary files: This feature deletes the temporary files which apps and the internet create. You can also choose the time period in this category as well, there is also a feature to delete the Download folder’s files as well.
Wrapping up
This is how you can use the storage sense feature to empty the recycle bin automatically and clear out the clutter for you on your PC. This feature is a really useful feature if you use it and Microsoft introduced this feature recently in Windows 10.
Read How to Encrypt Files & Folders in Windows 10
The post How to Empty Recycle Bin Automatically on Windows 10 appeared first on Gadgets To Use.
Source: Gadgets House


No comments