Google keeps updating it’s Photos app with some new features every now and then. The photo viewing app already has a editing feature which has very editing options. Now. Google at its ‘Launch Night In’ event earlier this month introduced Google Photos new editor tool which lets you edit photos with many more options like adjust various settings, edit suggestions, filters and more.
With tons of new features added to the app, it has become little difficult to edit the photo the way you used to. Here is small step by step guide to tell you how to edit your photos using the new Google Photos editing tools.
Also, read | Stop Google Photos from Backing-up All Image Folders
Steps to edit photos on Google Photos
1] First of all, update your Google Photos app to the latest version from Play Store.
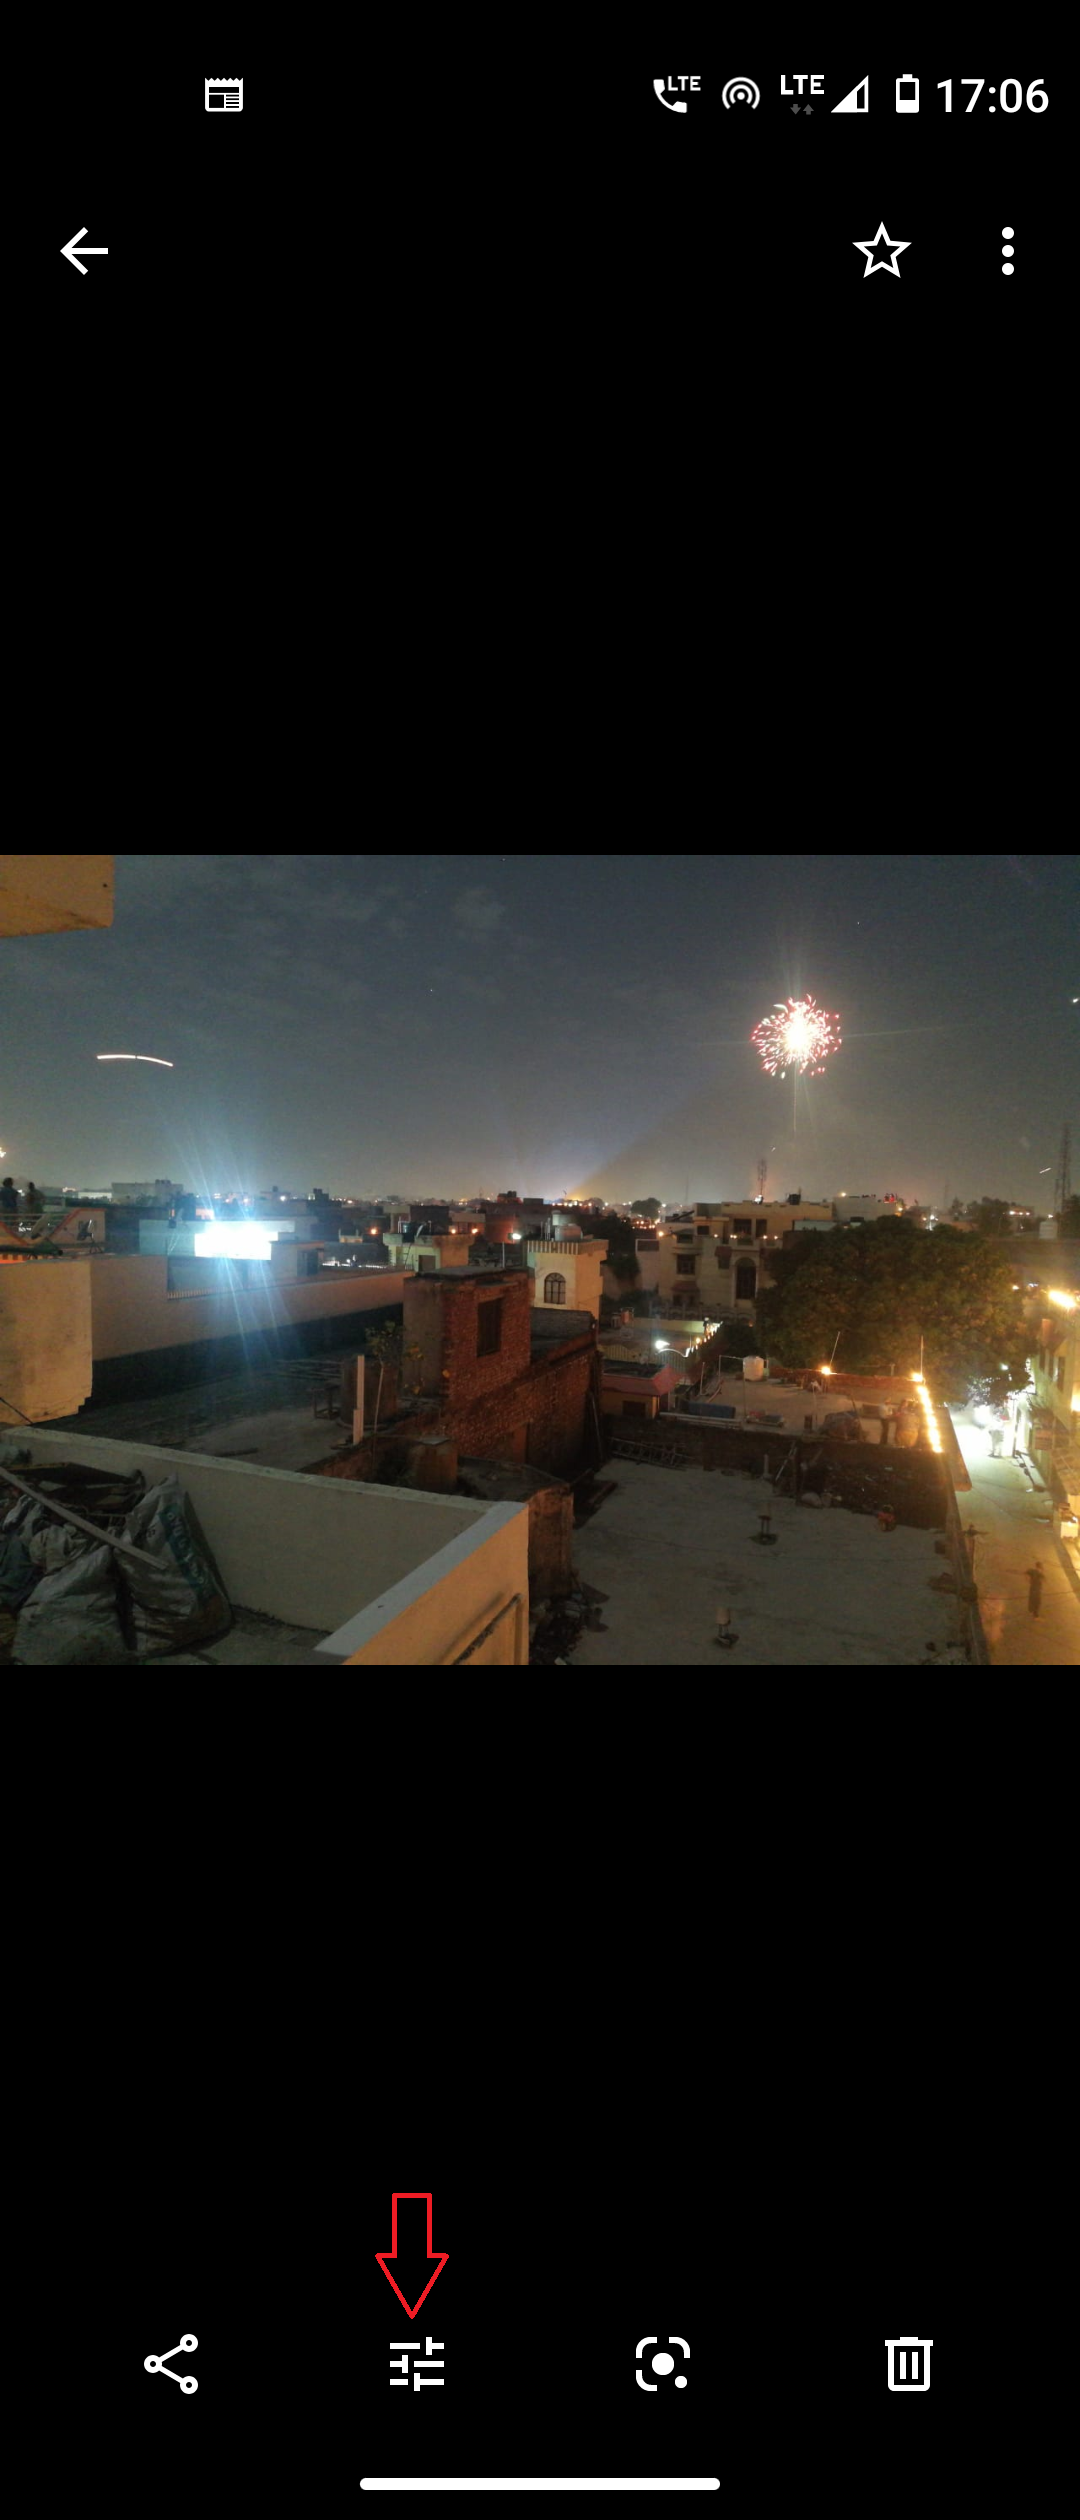
2] Now. open any photo which you want to edit and tap on edit button from below menu.
3] Now you will see many options in the slider when you slide it to left- Suggestions, Crop, Adjust, Filter and More.
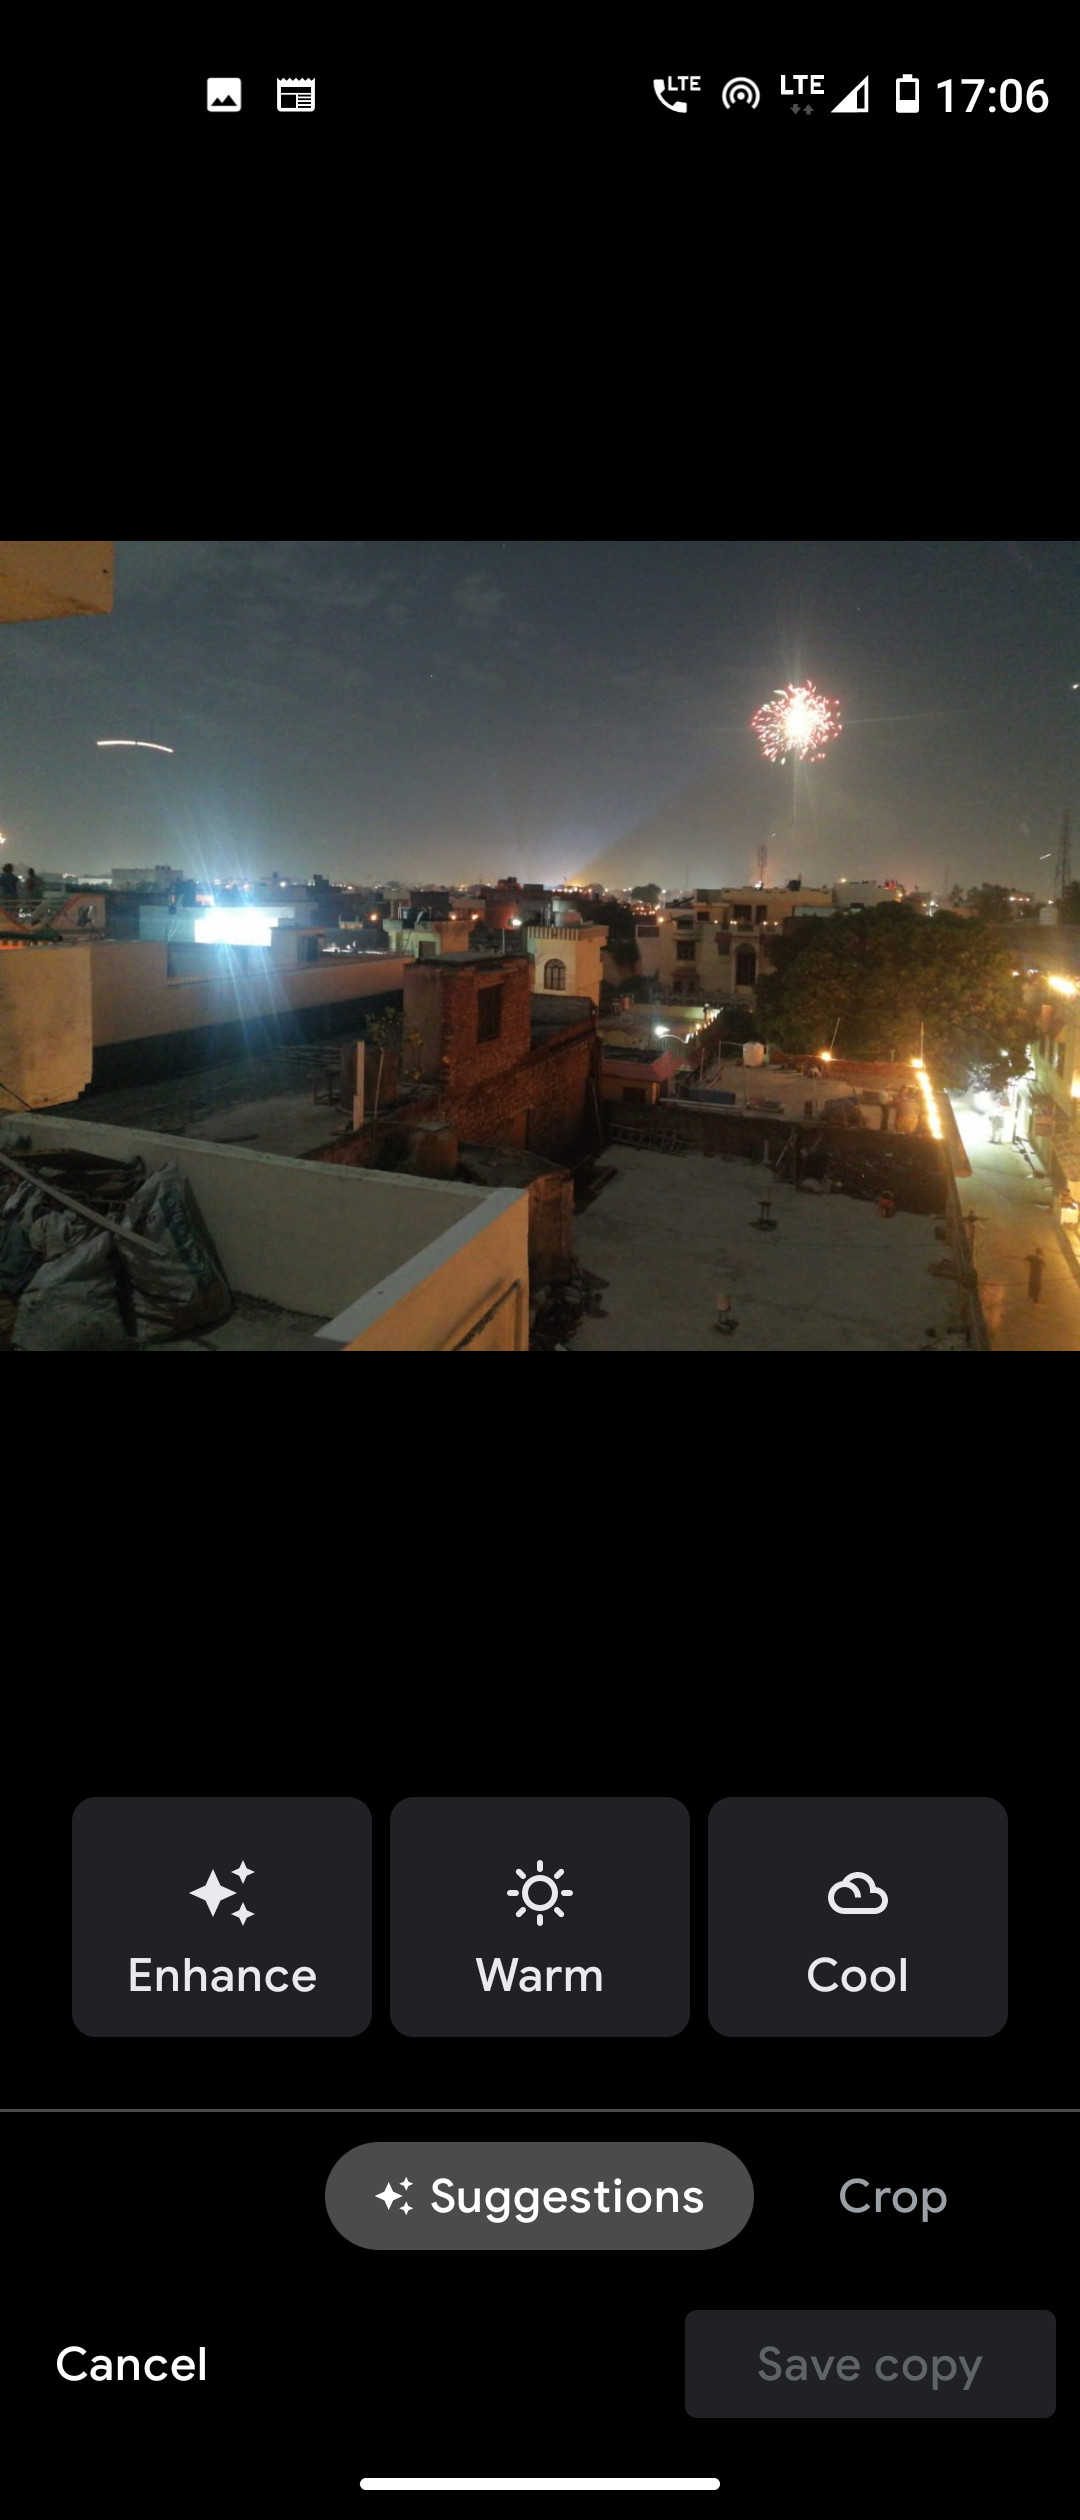
4] If you want to use suggested editing by Google AI, tap on any of the suggested option above the slider.
5] If you want to crop it, tap on crop and select your desired size.
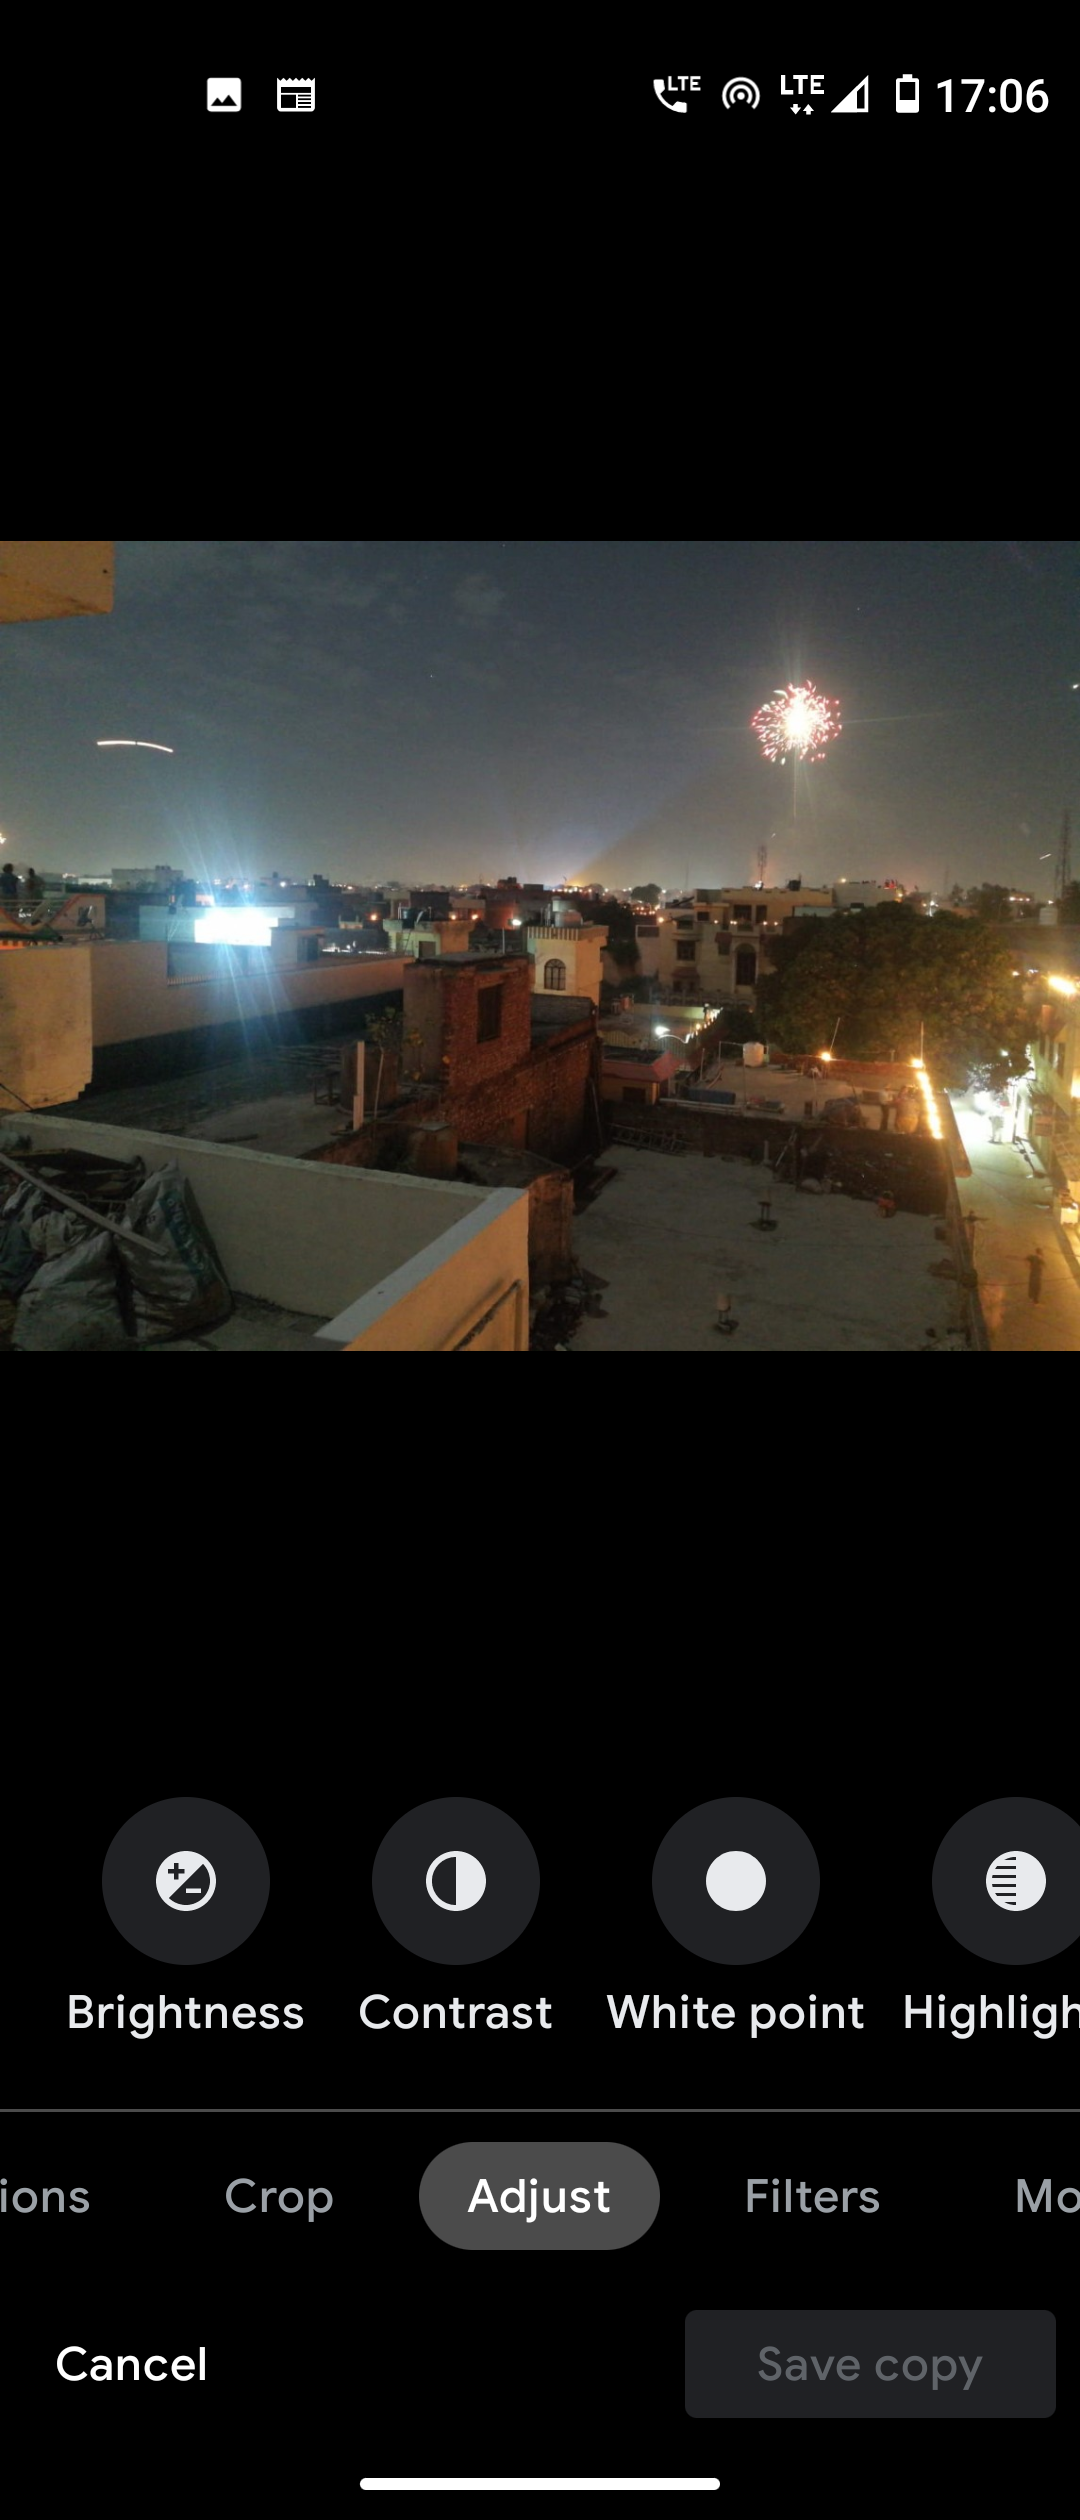
6] To adjust various settings like Brightness, Contrast, tap on Adjust and choose any one from above options. Now, change it according to your photo.
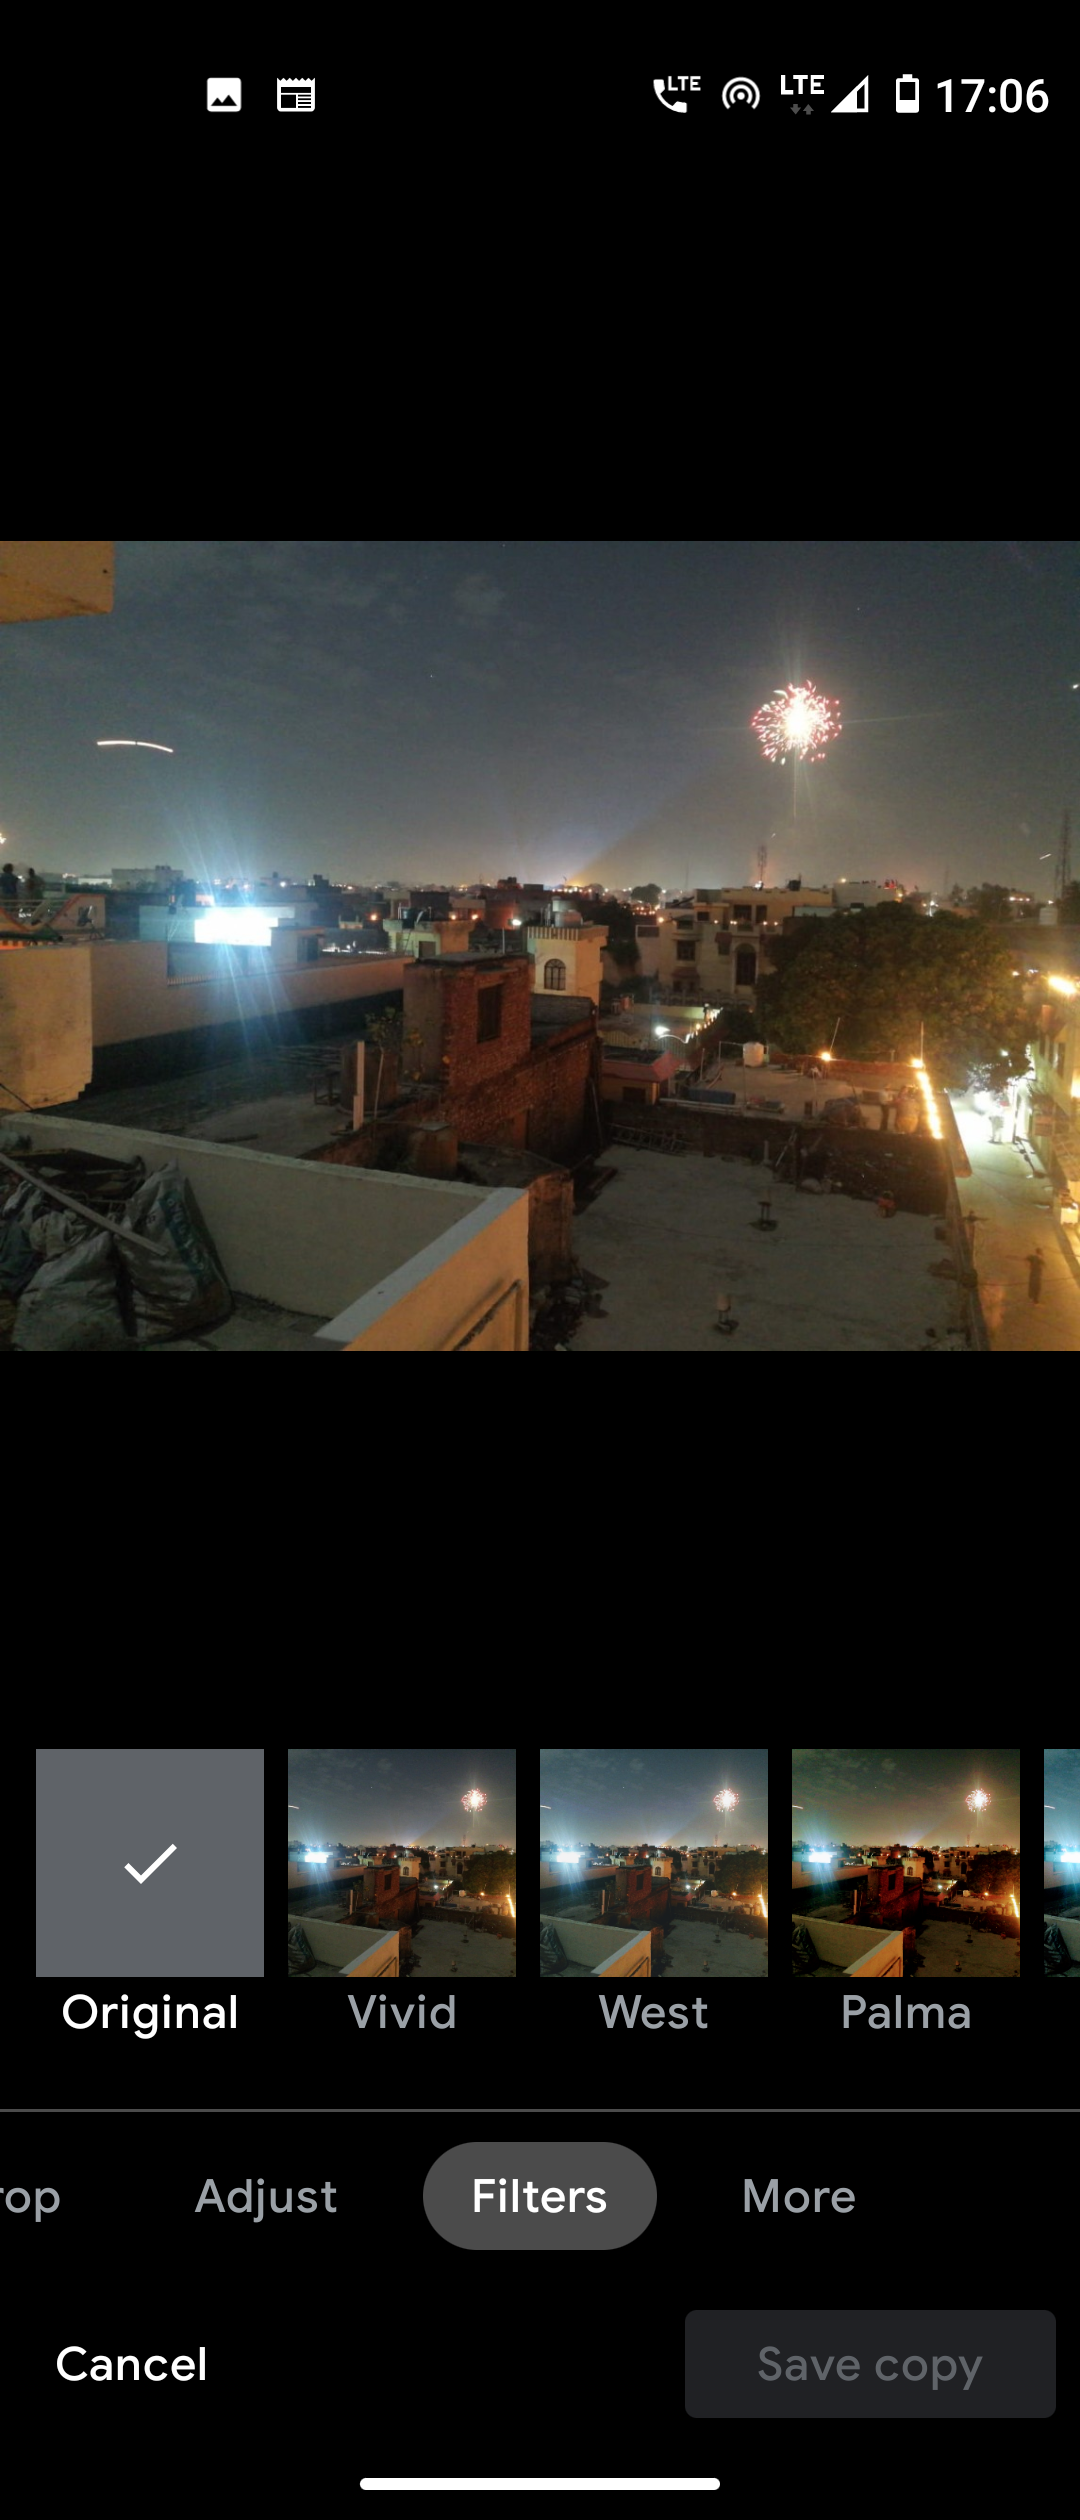
7] If you want to apply filter or make a mark on photo, choose the next options.
After applying the changes, tap on ‘Save Copy’ and your edited photo will be saved in the Google Photos next to the original one.
This is how you can edit your photos using the new Google Photos editor tools. For more such tips and tricks, stay tuned with Gadgets To Use.
The post How to Edit Photos Using Google Photos New Editor appeared first on Gadgets To Use.
Source: Gadgets House

No comments